Chrome is the most powerful browser used by 65% of the people worldwide. Unfortunately Google forces some features on Chrome like no option to remove bookmarks bar and not possible to remove the favicons on the new tab page. However, Google introduced additional options for disable bookmarks bar and remove the favicons with version 69. But still one annoying feature is forced on users that is automatic update.
How Auto Update Works in Chrome?
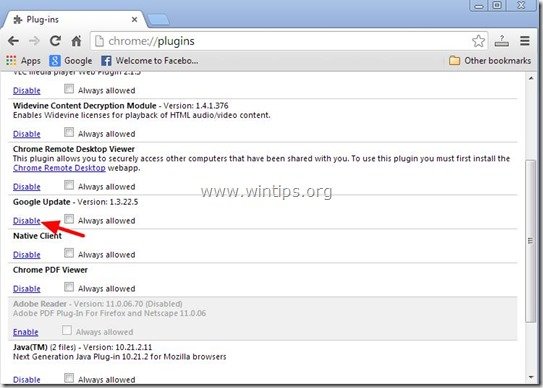
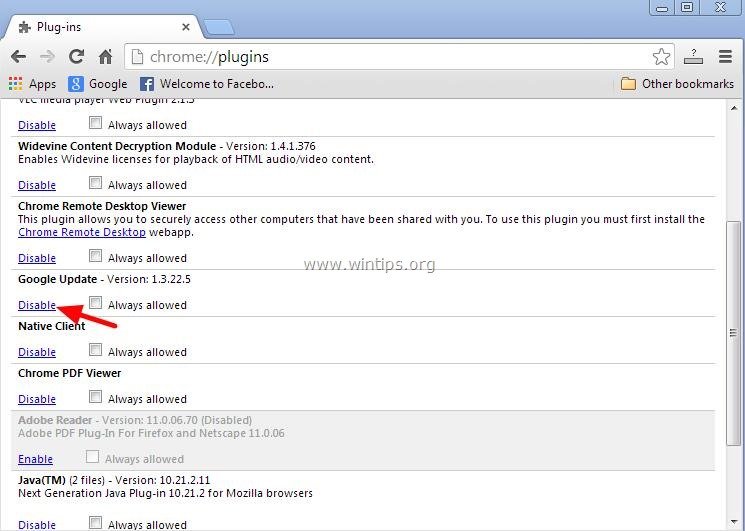
Chrome uses Google Update feature that in turns uses an open source program called Omaha for auto updating. Automatic update runs and check for the latest version whenever you connect to internet with 5 hours frequency. The auto update also runs whenever you go to the some of the settings page. For example, go to the command URL “chrome://settings/help” and you will see the auto update will starts immediately.
Chrome Auto Update
Note that the open source Chromium browser does not have auto update feature. Only Google Chrome has this on Windows and Mac, even it does not have auto update on Linux platform.
You can keep track of major Chrome releases that happen once in every six weeks by subscribing toChrome release blog.
Why Automatic Update May Annoy?
Automatic updates are good to keep your browser safe and secure up to date. The problem comes when there are changes in the functionalities. For example, earlier it was very easy to create shortcut of a website in Chrome. Now this has been changed to make the old user’s life difficult.
There should be lot of embracement when you suddenly loose a feature which you were using for years. There are no options in Chrome for disabling this auto update feature or reverting back to earlier browser version.
So you need to forcibly use the latest version whether you like it or not.
How to Disable Automatic Chrome Update?
For whatever reason you want to stop the automatic Chrome updates, you can do so in just a few steps. This post will take you through the process of disabling the Chrome auto updates.
- Rename the update folder [Windows]
- Using Windows system configuration [Windows]
- From Windows service manager [Windows]
- Disable using registry editor [Windows]
- Change the auto update URL [Mac]
- Point all auto update URLs to localhost [Windows and Mac]
- Modify plist file [Mac]
1. Rename Google Chrome Update Folder [Windows]
This is one of the easiest methods that anyone can do without hassle.
- On Windows 10, go to the Chrome installation drive which is generally C: drive.
- Then navigate to “C:\Program Files\Google\”.
- You will see the “Update” folder. Try to rename this folder; if you can then this will disable the Chrome update. In most of the cases, you can’t rename this folder.
- Open “Update” folder and rename the “GoogleUpdate” application file to something like “GoogleUpdate1”.
Change Google Update Application Name
- Now go to Chrome and check the URL “chrome://settings/help”. You should see error in auto update like below.
Chrome Update Error
On Mac, you can go to “Users > Your Mac Drive > Library > Google > GoogleSoftwareUpdate” and rename this folder. Unfortunately when you check the auto update, Chrome will re-create this folder and run the auto update. So renaming this folder does not work on Mac.
Change Auto Update Folder in Mac
2. Disable Automatic Chrome Updates from Windows System Configuration [Windows]
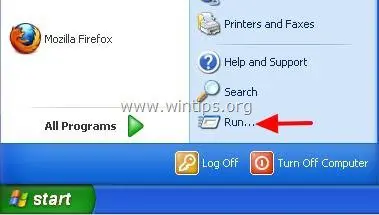
- Open the “Run” command by pressing the “Win +R” shortcut keys or type “Run” on the Windows search box, and select the run command.
- Type “msconfig” and click ok or hit “Enter” to open the system configuration panel.
Run Command for Opening System Configuration
- On the system configuration window, select the “Services” tab. At the bottom of the window, uncheck the box on the left of “Hide all Microsoft services”.
- Navigate the list of services and uncheck both “Google Update (gupdate)” and “Google Update (gupdatem)”.
Disable Chrome Updates in System Configuration
- Click the “Apply” and then “OK” button to save the changes.
- When prompted to restart the PC, click on “Restart” for the changes to take effect.
Related: How to disable auto update in Windows 10?
3. Disable Chrome Updates from Windows Services Manager [Windows]
- Open the “Run” command by searching “Run” from the Cortana or pressing the “Win + R” keys on the keyboard. Type “services.msc” and click “Ok”. This will open services manager window.
Open Services Using Run Command
- Alternatively, type “control” on the Windows or Cortana search and select the “Control Panel”, select “System and Security” and scroll down then click on “Administrative Tools”.
- Double click on “Services” to open the service manager screen.
- Look for “Google Update (gupdate)” and “Google Update (gupdatem)” on the list.
- Double click on both (each at a time) and on the “General” tab under “Startup Type” choose “Disabled” option then click ok.
Disable Chrome Update Services
4. Disable Chrome Updates from Registry Editor [Windows]
You can also stop Chrome from automatically updating by editing the registry keys.
- From the “Run” utility “Win + R” keys, type “regedit” and click “OK” to open the registry editor.
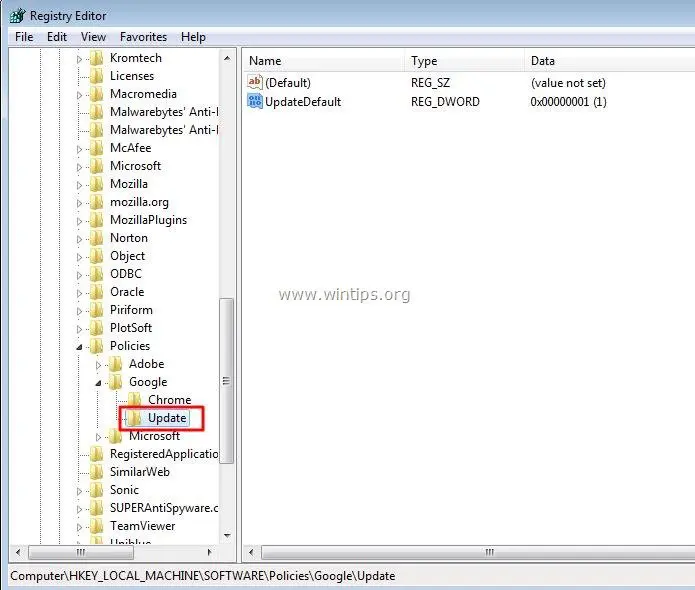
- On the registry editor open the “HKEY_LOCAL_MACHINE” folder. You may double click on the folder or click on the arrow to open.
- Open the “SOFTWARE” folder and scroll down to “Policies”.
- Right-click the “Policies” folder, select “New” then click “Key”.
- Rename the newly created key to “Google”.
- Right click on the “Google” folder, select “New” then click on “Key” and rename the key to “Update”.
- On the right hand side of the registry editor, right click on the white space below the “Default” option and select “New” then choose “DWORD”.
Create New DWORD Entry
- Rename the new key to “Updatedefault”.
- Double click on the “Updatedefault” to edit the DWORD value and set the “Value data” to 0.
Set Value Data
- Click “Ok” to save your changes and exit the “Registry Editor”.
If this does not work, try creating additional DWORD keys and set the values like below:
DWORD: AutoUpdateCheckPeriodMinutes and Value: 0
DWORD: DisableAutoUpdateChecksCheckboxValue and Value: 1
5. Change Chrome Auto Update URL [Mac]
On Mac, you can try to change the Chrome auto update URL to disable the updates.
- Open Finder and go to “Applications” folder.
- Right click or control + click on the Google Chrome folder and go to “Show Packaged Content”.
- Click “Contents” folder and open “Info.plist” file. Remember you need to have editors like Xcode to open plist file. Also you should have write permission for both “Contents” folder and “Info.plist” file to edit.
Editing Info Plist File in Mac
Change Chrome Auto Update URL in Mac
If this does not work then you may need to disable all update URLs Google uses for Chrome.
6. Block Chrome Update URLs [Windows and Mac]
Google uses one of the URLs for updating Chrome. So you can block these domains using hosts file on Windows and Mac to block the update. However, if Google uses different URL for update then the auto update will work.
- google.com/dl/*
- google.com/*
- com/dl/*
- *.gvt1.com
- google.com/service/update2
- google.com
- googleapis.com/service/update2
- google.com
Learn how to edit hosts file in Windows and Mac.
7. Modify Update Interval in Mac
On Mac, you can modify the update frequency interval to stop auto update.
- Open Finder and navigate to “Go > Go to Folder…” menu item.
- Enter the path “~/Library/Preferences” and hit enter key.
- You will see all lot of preferences file and look for “com.google.Keystone.Agent.plist” file.
Edit Chrome Plist File in Mac
- Open the file using the Xcode editor or any other XML editors like TextWrangler. Remember, you can’t edit plist file using TextEdit or other normal editors.
- The default key string for the “checkInterval” is 18000. Change the key string value to 0.
Change Update Check Interval
- Save your file and close.
- If you don’t have Xcode or not able to edit plist file then press “Command + Spacebar” and type “terminal”. Open Terminal app and enter the following command.
defaults write com.google.Keystone.Agent checkInterval 0
- This will set the value in the plist file as explained above.
Now that the auto update should not work on your Chrome browser.
Conclusion
The automatic Chrome update is not a problem for most users but it is possible to stop them whenever you need to. Google does not recommend stopping of these updates, as they are critical to improving your browsing experience and security. It is important to understand that by disabling the Chrome updates you could be vulnerable to serious security issues and at the same time missing on some new helpful features. If for some reason you want to disable the Chrome auto updates, always remember to check for the available updates manually and update them when you want. Moreover, you may enable the automatic updates by reversing the above procedures.