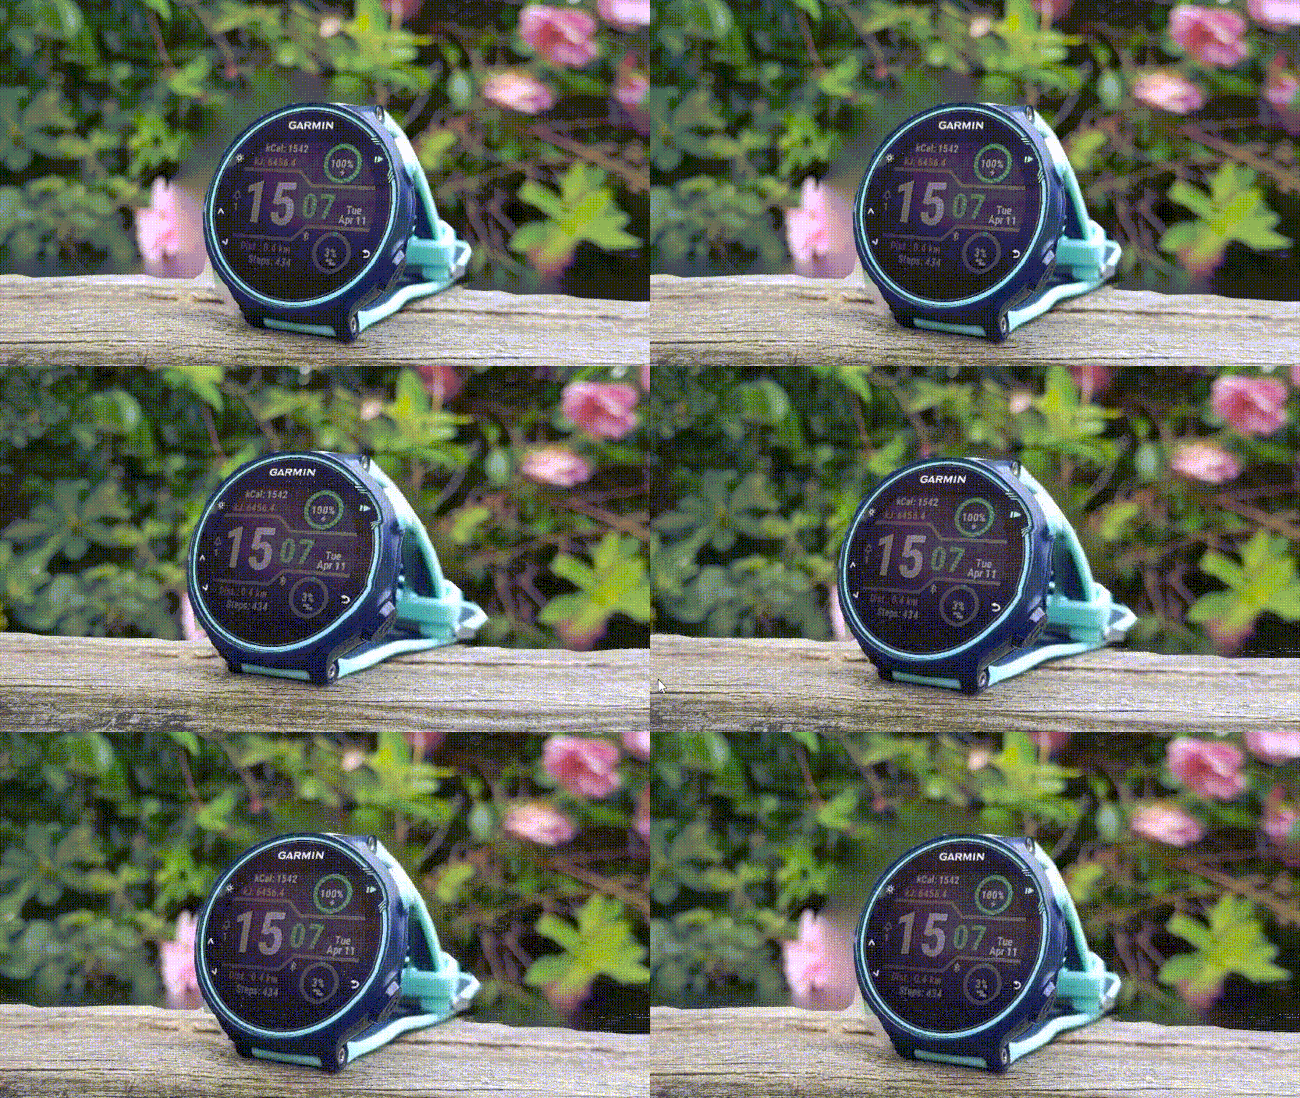
How to make a Facebook 3D photo

ADMINISTRATOR
Učlanjen(a)
11.10.2009
Poruka
66.919
Facebook 3D photo

(Image: © Future)
Facebook has a new feature that uses machine learning to turn any ordinary photo into a 3D image that can be viewed from different perspectives if you tilt or rotate your phone, or scroll past.

3D photos have been around for a while on Facebook, but until now it's only been possible to post one if you had a phone with a dual camera, which could capture two images and generate a depth map.

The new tool uses machine learning to extrapolate the three-dimensional shape of objects in your image, and uses that to generate a convincing 3D effect. It can even be used on decades-old images, and it works on any mid-range phone running Android or iOS.

Facebook 3D photo


(Image credit: Facebook)Make a Facebook 3D photo
  1. Launch the Facebook app and tap ‘What’s on your mind’.
  2. Scroll down and tap ‘3D photo’.
  3. Select a photo, then wait for it to be processed.
  4. Preview the 3D effect by moving your phone.
  5. Add text and any other content to your post, then tap ‘Post’.


Tips for better results
The effect is quite convincing, but the app can't create new data that isn't already in the image, so it will extrapolate what the area behind the picture's subject will look like based on nearby pixels. This will sometimes result in a background that looks a little blurry, so it's best to avoid intricately patterned backdrops.

Facebook says the tool works best if you avoid images with narrow objects in the foreground, or with lots of reflections. It's also a good idea to pick images with objects at various depths for the best effect.

Facebook is currently working to make 3D photos created this way even more convincing, so we look forward to seeing an even more impressive version in the future.
 
ADMINISTRATOR
Učlanjen(a)
11.10.2009
Poruka
66.919
3dfeatured.jpg

You may have noticed 3D pictures popping up all over your Facebook feed recently. This feature is relatively new and is unique to Facebook. The technology allows users to upload portrait mode photos to the platform to view in 3D.
OmniVirt’s free 3D Photo creator tool gives users the ability to turn photos that they already have stored in their camera roll into interactive 3D pictures.
Learn how to use portrait mode on your iPhone to upload a 3D Picture to Facebook. (Must have an iPhone 7 plus, 8 plus, X, XS, or XSMax.)
Learn how to transform your images into 3D pictures in this step-by-step tutorial!
Or keep scrolling to learn how to transform your existing 2D images into 3D pictures in this step-by-step tutorial!
How to Use Portrait mode to Upload a 3D Picture to Facebook
1. Open your iPhone’s camera
Open up the camera app on your iPhone and click “portrait” on the bottom of the screen. Snap your picture! Try to capture one that has an object in the foreground so that the depth in the 3D picture will appear more realistic.
3d picture portrait step 1

2. Upload your 3D Picture to Facebook.

The 3D Photo option is within the status update box. Go through the motions as if you were posting a status update and you will see an option that says “3D Photo.” Select the portrait mode image that you took.
3d picture portrait step 2

3. Enjoy interacting with your 3D picture!
Upload your photo and have fun with it!
3d picture portrait step 3


How to turn a 2D picture into a 3D picture
1. Choose a 2D image from your camera roll.
This is your chance to get creative! Choose any photo from your camera roll that you want to see in 3D. Try to choose one that has an object in the foreground so that the depth in the 3D picture will appear more realistic.
3d pictures step 1

2. Generate a Depth Map.
You can either upload your own depth map, or OmniVirt’s tool will use AI to generate one for you. Just be sure to select what the image is about in the drop-down menu. If you’d like to make your own depth map but aren’t sure how to do it–check out this step-by-step tutorial.
3d pictures step 2

3. Preview your 3D Picture
Now that you’ve created your depth map, you can preview your 3D picture. Note that your 3D picture might look a bit different once you upload it to Facebook because the OmniVirt website uses a different renderer, but this will still give you a good idea.
3d pictures step 3

4. Generate your 3D Picture
Check the terms and services box and generate your 3D picture! Wait for the check mark to appear so that you know when your 3D picture is ready to download.
3d pictures step 4

5. Save your 3D Picture.
Click on the link below the blue checkmark to see the photo that you’ve just created. This image will be a still photo–don’t worry. Save this image to your camera roll. It should save as a “portrait mode” picture. That is how you’ll be able to tell that it’s not just a still image.
3d pictures step 5


6. Upload your 3D picture to Facebook.
The 3D Photo option is within the status update box. Go through the motions as if you were posting a status update and you will see an option that says “3D Photo.” Select the image that you just saved to your camera roll.
3d pictures step 6

7. Enjoy interacting with your 3D Picture! Trust us–your friends and family will too!
3d pictures step 7
 
Član
Učlanjen(a)
21.09.2009
Poruka
243
Facebook 3D photo

(Image: © Future)
Facebook has a new feature that uses machine learning to turn any ordinary photo into a 3D image that can be viewed from different perspectives if you tilt or rotate your phone, or scroll past.

3D photos have been around for a while on Facebook, but until now it's only been possible to post one if you had a phone with a dual camera, which could capture two images and generate a depth map.

The new tool uses machine learning to extrapolate the three-dimensional shape of objects in your image, and uses that to generate a convincing 3D effect. It can even be used on decades-old images, and it works on any mid-range phone running Android or iOS.

Facebook 3D photo


(Image credit: Facebook)Make a Facebook 3D photo
  1. Launch the Facebook app and tap ‘What’s on your mind’.
  2. Scroll down and tap ‘3D photo’.
  3. Select a photo, then wait for it to be processed.
  4. Preview the 3D effect by moving your phone.
  5. Add text and any other content to your post, then tap ‘Post’.


Tips for better results
The effect is quite convincing, but the app can't create new data that isn't already in the image, so it will extrapolate what the area behind the picture's subject will look like based on nearby pixels. This will sometimes result in a background that looks a little blurry, so it's best to avoid intricately patterned backdrops.

Facebook says the tool works best if you avoid images with narrow objects in the foreground, or with lots of reflections. It's also a good idea to pick images with objects at various depths for the best effect.

Facebook is currently working to make 3D photos created this way even more convincing, so we look forward to seeing an even more impressive version in the future.

To create a Facebook 3D photo, you'll need an image with depth information. Here's a step-by-step guide on how to make a Facebook 3D photo:

Step 1: Capture or choose an image with depth: Facebook 3D photos require an image that has depth information. This can be achieved by using a dual-lens smartphone camera, a depth-sensing camera, or by using a compatible app or software to add depth to a regular image.

Step 2: Prepare the image: Ensure that the image meets Facebook's requirements. It should be in the JPEG format, have a resolution of at least 1,200 x 628 pixels, and the file size should be below 3.5 MB.

Step 3: Open the Facebook app: Launch the Facebook app on your smartphone or tablet. Alternatively, you can also use the Facebook website on your computer.

Step 4: Create a new post: Tap on the "Create Post" option or the "What's on your mind?" box to start a new post. On the Facebook website, you can find the "Create Post" box at the top of your news feed or your profile.

Step 5: Add the photo: Tap on the "Photo/Video" button to select the image you want to use for the 3D photo. Choose the image from your device's gallery.

Step 6: Wait for depth analysis: After selecting the image, Facebook will analyze it to identify the depth information. This may take a few seconds to complete.

Step 7: Adjust the depth effect: Once the depth analysis is done, you'll see a screen with a depth slider. You can adjust the depth effect by moving the slider left or right. This allows you to control the intensity of the 3D effect.

Step 8: Create the 3D photo: Tap on "Next" or "Create 3D Photo" to generate the final 3D photo. Facebook will process the image and create a 3D version.

Step 9: Add a caption: Add a caption or any other accompanying text to your 3D photo post, if desired.

Step 10: Publish the post: Tap on the "Post" button to publish the 3D photo to your Facebook profile or page. Your 3D photo will now be visible to your friends or followers.

Note that the availability of the 3D photo feature may vary depending on your device and location. Additionally, the quality of the 3D effect may vary depending on the original image and the depth information it contains.
 
Natrag
Top